 Save
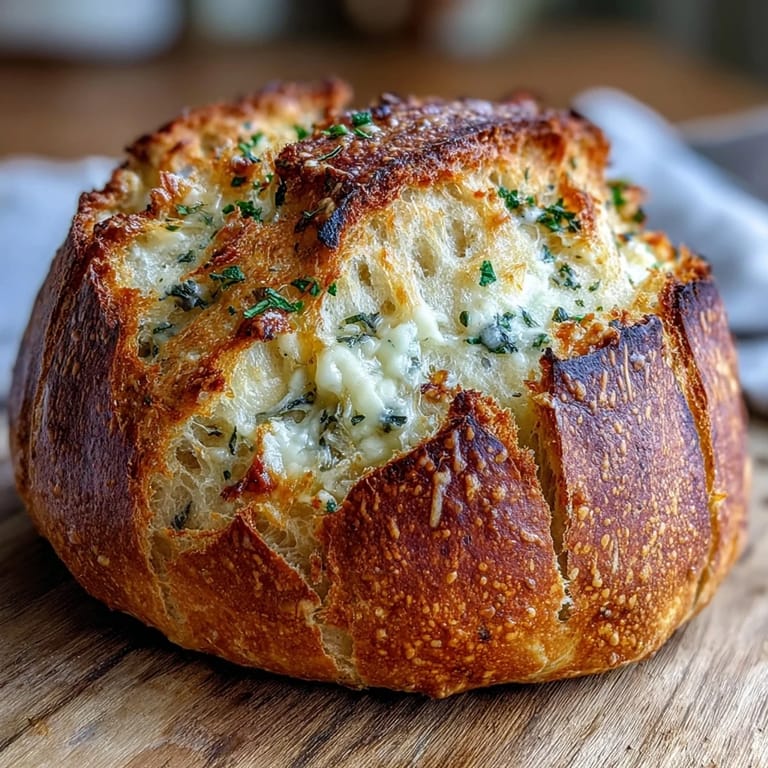
Save Last winter, during a particularly relentless snowstorm, I found myself snowed in with a dwindling pantry and a serious craving for something warm and comforting. I'd been experimenting with no-knead breads for months, but that afternoon I decided to throw caution to the wind and dump whatever cheese and herbs I had left into the dough. The way my entire apartment filled with that intoxicating combination of garlic and melting Parmesan was nothing short of magical.
My sister dropped by unexpectedly that snowy evening, and we stood around the oven watching the bread rise through the Dutch oven's glass lid like two excited children. We tore into it while it was still too hot to handle, burning our fingers but not caring one bit, with butter melting into every nook and cranny.
Ingredients
- 3 1/4 cups all-purpose flour: This is your foundation, and don't be tempted to swap in whole wheat or the texture won't give you that bakery-quality crumb we're after
- 2 teaspoons salt: I learned the hard way that cutting this even slightly leaves the bread tasting flat and disappointing
- 1 teaspoon granulated sugar: Just enough to feed the yeast without making your bread taste sweet, creating those beautiful air pockets
- 2 teaspoons active dry yeast: Make sure it's fresh and bubbly after that five-minute stand, or your bread won't rise properly
- 1 1/2 cups warm water: Exactly 110 degrees is what you want, like bathwater temperature, and anything hotter will kill your yeast
- 2 tablespoons olive oil: This keeps the crumb tender and adds that subtle richness that makes artisan bread so irresistible
- 1 cup freshly grated Parmesan cheese: Please grate it yourself, the pre-grated stuff has anti-caking agents that prevent it from melting properly
- 2-3 cloves garlic, minced: Fresh is absolutely non-negotiable here, and mince it finely so it distributes evenly throughout the dough
- 1 tablespoon fresh rosemary or parsley: Totally optional but I find it adds this lovely herbal brightness that cuts through all that rich cheese
Tired of Takeout? 🥡
Get 10 meals you can make faster than delivery arrives. Seriously.
One email. No spam. Unsubscribe anytime.
Instructions
- Mix your dry foundation:
- Whisk together the flour, salt, and sugar in a large bowl until everything is evenly distributed
- Wake up your yeast:
- Dissolve the yeast in warm water and let it sit for about 5 minutes until you see a layer of foam form on top, which tells you it's alive and ready to work
- Bring everything together:
- Pour the yeast mixture and olive oil into your dry ingredients and stir with a wooden spoon until you have a shaggy, sticky dough
- Add the flavor bombs:
- Fold in the Parmesan, garlic, and herbs until they're evenly distributed throughout the dough
- Let time do its work:
- Cover your bowl and let it rise somewhere warm for 12 to 18 hours, until it's doubled in size and bubbling with activity
- Shape with a gentle hand:
- Turn the dough onto a floured surface and form it into a round loaf, being careful not to deflate all those beautiful air bubbles you've created
- Prep your baking station:
- Place the dough on parchment paper for its final 30-minute rest while your oven and Dutch oven preheat to 450 degrees
- Give it room to grow:
- Score the top of your loaf with a sharp knife, making a shallow cut about half an inch deep to help it expand beautifully in the oven
- Create that steamy oven environment:
- Transfer the dough into your screaming hot Dutch oven, cover it, and bake for 30 minutes to trap steam and develop that incredible crust
- Reveal the golden beauty:
- Remove the lid and bake for another 15 minutes until the crust is deeply golden and the loaf sounds hollow when you tap it
- Practice patience:
- Cool on a wire rack for at least 30 minutes, because slicing into hot bread will make the texture gummy and sad
 Save
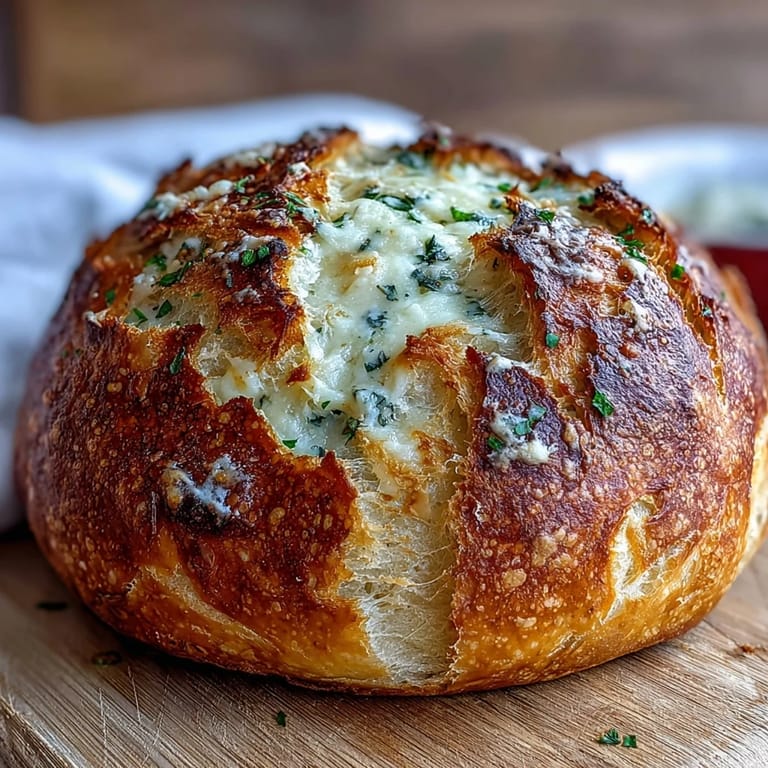
Save This bread has become my go-to for dinner parties because it makes people think I've spent hours laboring in the kitchen, when really it's mostly just patience and a bit of timing. There's something so satisfying about pulling that lid off and revealing a loaf that looks like it came from a proper bakery.
The Magic of Long Fermentation
That extended rise time isn't just about convenience, it's developing complex flavors that quick yeast breads simply can't achieve. The enzymes are breaking down starches into sugars, creating that subtle sweetness and depth that makes this bread taste like it came from a European bakery. Trust me, once you taste the difference, you'll never go back to rapid-rise recipes again.
Dutch Oven Secrets
The trapped steam inside your preheated Dutch oven mimics the steam injection of professional bread ovens, gelatinizing the starches on the crust's surface. This creates that shatteringly crisp exterior while keeping the inside tender and chewy, and it's absolutely the secret to bakery-quality results at home. If you don't have a Dutch oven, a heavy oven-safe pot with a tight-fitting lid will work in a pinch.
Making This Bread Your Own
Once you've mastered this basic formula, the variations are endless and absolutely worth experimenting with. I've swapped in aged cheddar and caramelized onions, gone full Italian with mozzarella and sun-dried tomatoes, or kept it simple with just extra garlic and herbs for a more subtle flavor profile.
- Try adding cracked black pepper to the dough for a subtle warmth that complements the Parmesan beautifully
- Brush the crust with olive oil and sprinkle with extra cheese during the last 10 minutes of baking
- This dough freezes beautifully after the first rise, so consider doubling the batch and saving half for another day
 Save
Save There's something profoundly satisfying about making something so delicious from such humble ingredients, and the way this bread transforms simple soup night into something special never fails to make me smile.
Recipe FAQs
- → Can I reduce the rising time?
The extended 12-18 hour fermentation is essential for developing the characteristic flavor and airy texture. Rushing this process results in denser crumb and less complex taste. Plan ahead and let the dough work overnight.
- → What if I don't have a Dutch oven?
A heavy oven-safe pot with tight-fitting lid works equally well—cast iron, enamel, or ceramic. Alternatively, bake on a preheated baking stone and create steam by placing a pan of ice cubes on the lower rack.
- → Can I use other cheeses?
Absolutely. Asiago, Gruyère, aged cheddar, or Pecorino Romano create delicious variations. Stick to hard, flavorful cheeses that grate well and won't release too much moisture during baking.
- → Why is the dough so sticky?
Sticky dough is intentional—it creates the open, airy crumb structure artisan breads are known for. Resist adding excess flour during shaping. Lightly flour your hands and work surface instead.
- → How do I store leftovers?
Wrap completely cooled loaf tightly in plastic and store at room temperature for 2-3 days. For longer storage, slice and freeze in freezer bags, reheating individual slices in a 350°F oven for 5-7 minutes.
- → Can I make this dairy-free?
Substitute nutritional yeast or vegan Parmesan alternative for the cheese. The texture and rise remain similar, though flavor profile shifts slightly. Add extra herbs to compensate for lost savory depth.