 Save
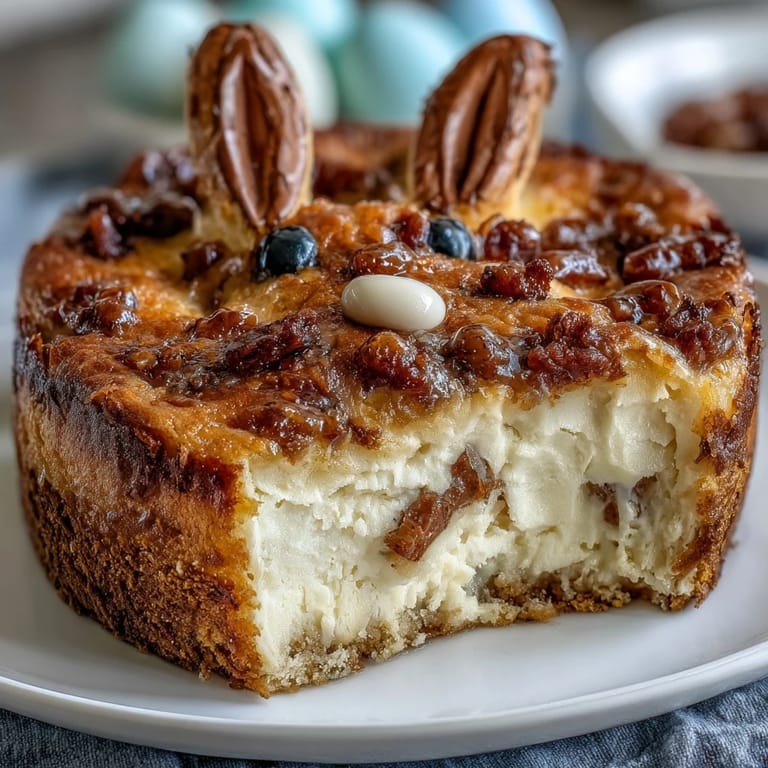
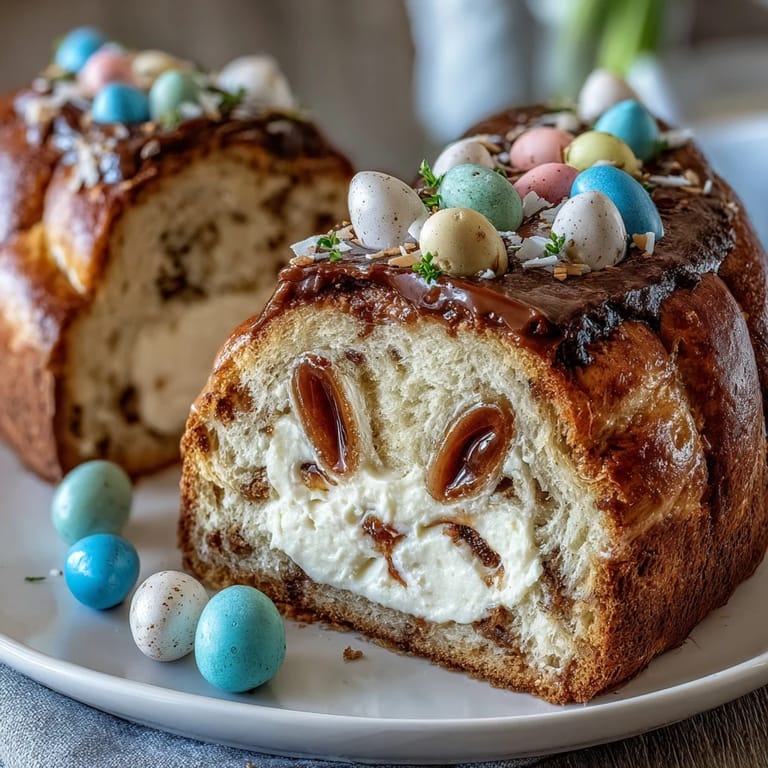
Save My neighbor's daughter was turning five, and I wanted to create something that would make her gasp when she bit into it. That's when the Easter Bunny Cake with its hidden sprinkle center came to life in my kitchen—a cake that looked playful and whimsical from the outside, but held a colorful surprise tucked right in the middle. The first time I assembled it, I felt like I was in on a secret, carefully arranging those sprinkles so they'd catch the light when sliced. It's become my go-to cake for spring celebrations, and watching people discover that hidden center never gets old.
I'll never forget hosting an Easter brunch where I brought this cake out just as everyone finished their main courses. The moment I sliced into it and those sprinkles caught the sunlight streaming through the window, the whole table leaned in at once. Three-year-olds and their grandparents were equally mesmerized, and suddenly the cake became the star of the entire meal, not just dessert.
Ingredients
- All-purpose flour (3 cups): The foundation of a tender, fluffy crumb—make sure it's measured by weight if possible, as scooping can pack it too densely and make the cake dense.
- Baking powder (2½ tsp): This gives the cake its gentle rise and airy structure, creating a spongy base that holds frosting beautifully.
- Salt (½ tsp): A small amount that amplifies sweetness and prevents the cake from tasting one-dimensional.
- Unsalted butter (1 cup, softened): Room temperature is non-negotiable here—cold butter won't cream properly and you'll miss out on incorporating air into the batter.
- Granulated sugar (2 cups): Beaten with butter, it creates tiny air pockets that make the cake impossibly light and tender.
- Large eggs (4): At room temperature, they emulsify smoothly into the butter mixture, binding everything together while adding richness.
- Vanilla extract (1 tbsp): The subtle flavor that makes people say the cake tastes like spring—don't skip it or substitute with imitation extract.
- Whole milk (1 cup): Alternating with flour creates a balanced crumb and keeps the cake moist for days.
- Assorted sprinkles (1 cup): The magical center—choose ones that won't bleed color into the frosting, and avoid rock-hard varieties that hurt teeth.
- Unsalted butter for frosting (1 cup, softened): A fresh batch separate from the cake ensures the frosting stays fluffy and holds its shape.
- Powdered sugar (4 cups): Sifted if lumpy, this creates a silky frosting that spreads like butter.
- Milk for frosting (2-3 tbsp): Add gradually—it's easier to thin than to thicken, and you want spreadable, not soupy.
- Vanilla extract (1½ tsp): A second dose for the frosting deepens the flavor without making it taste eggy.
- Pink food coloring (optional): Gel coloring gives vibrant pink ears and nose without watering down the frosting like liquid dyes do.
- Shredded coconut (optional): Toasted lightly, it mimics bunny fur and adds texture that candy alone cannot provide.
- Candy eyes: These tiny details transform a plain cake into a character with personality and charm.
- Pink jelly beans or pink candy (for nose): The focal point of the bunny's face—choose candies that won't melt under the warm frosting.
- Marshmallows (optional): Soft and pillowy for the tail and ears, they add dimension and nostalgia to the design.
Tired of Takeout? 🥡
Get 10 meals you can make faster than delivery arrives. Seriously.
One email. No spam. Unsubscribe anytime.
Instructions
- Prepare your baking stage:
- Preheat the oven to 350°F and grease two 8-inch round pans with butter, then dust with flour so the cakes release cleanly. This small act prevents heartbreak when you're ready to turn out your cooled cakes and they stick stubbornly to the pan.
- Mix the dry ingredients:
- Whisk together flour, baking powder, and salt in a bowl, breaking up any lumps so the leavening distributes evenly through the cake. This step takes only a minute but guarantees a tender crumb without dense pockets.
- Cream butter and sugar until light:
- In a large bowl, beat softened butter and sugar for about three minutes until it looks pale and fluffy, like whipped clouds. You'll hear the mixer's rhythm change as air gets incorporated—that's the sign you've done it right.
- Add eggs one at a time:
- Beat each egg in fully before adding the next, which takes about 30 seconds per egg and prevents the mixture from looking curdled and broken. The batter will transform from thick to silky as the eggs incorporate completely.
- Mix in vanilla:
- A single tablespoon of vanilla extract goes in now, and the aroma will make you smile.
- Alternate flour and milk:
- Add the flour mixture in three portions, alternating with milk and starting and ending with flour—this keeps the batter smooth and prevents overmixing. Stir just until each addition is combined, about 10 strokes of the spoon.
- Divide and bake:
- Pour batter evenly between the two pans and bake for 35 to 40 minutes until a toothpick inserted in the center comes out clean or with a few moist crumbs. The kitchen will smell like vanilla and butter in the most comforting way.
- Cool the cakes:
- Let them rest in the pans for 10 minutes so they firm up slightly, then turn them out onto wire racks to cool completely—this takes about an hour. Patience here prevents crumbling when you assemble.
- Create the hidden center:
- Using a 3-inch round cutter, press gently into the center of one cooled cake layer and twist out a circular piece—this is where the magic happens. Set that cake piece aside; you'll use it to seal the surprise.
- Build the surprise layer:
- Place the intact cake layer on your serving board, spread a thin layer of frosting on top, then carefully position the layer with the hole on top. Fill that hole generously with sprinkles, then place the cake piece you cut out back on top like a puzzle, sealing the treasure inside.
- Prepare the frosting:
- Beat softened butter until creamy, then gradually add powdered sugar while mixing, followed by vanilla and milk until the frosting is fluffy and spreadable. Taste it and adjust sweetness or vanilla to your preference.
- Frost the entire cake:
- Use an offset spatula to spread frosting thickly and evenly over the entire two-layer cake, creating a smooth canvas for the bunny shape. This is where the cake transforms from simple to show-stopping.
- Shape the bunny:
- Cut one frosted round into ears and a bowtie, then arrange the pieces with the other round to form a bunny face on a large board. Step back and adjust until it looks right to your eye—there's no wrong way to do this.
- Decorate with personality:
- Sprinkle coconut over the frosting for fur, press candy eyes into place, add a pink jelly bean or candy for the nose, and position marshmallows for the tail and inner ears. Let your creativity guide you—this is the fun part where the cake becomes uniquely yours.
- Chill before serving:
- Refrigerate the finished cake for at least 30 minutes so the frosting sets and the structure firms up. This also makes slicing cleaner and gives the hidden sprinkles time to settle.
 Save
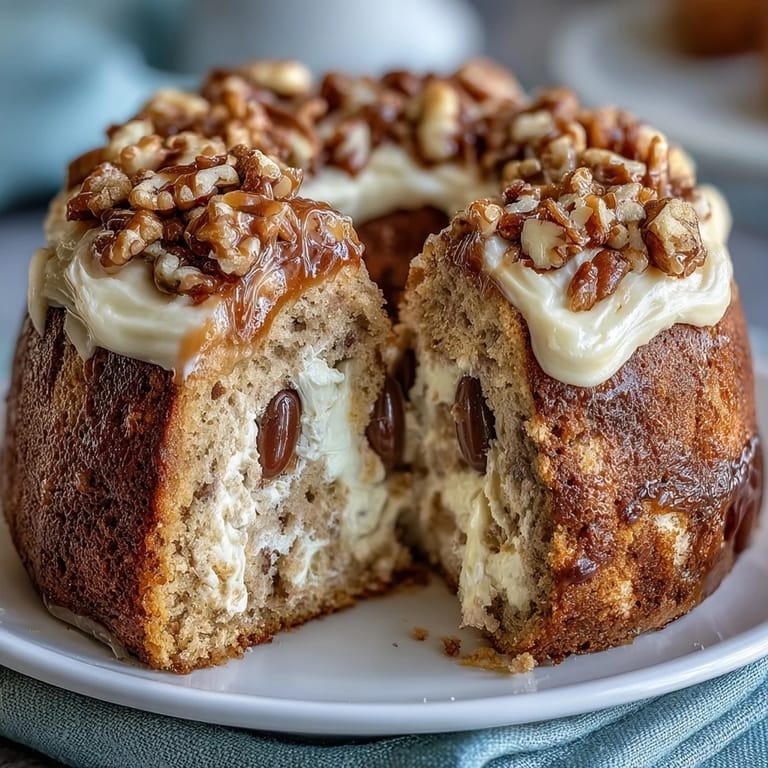
Save I still remember my friend's teenage daughter cutting into the cake at her Easter party, that moment of surprise when she discovered the colorful sprinkles hidden inside. She looked up at me with genuine wonder, and suddenly I understood why people put so much care into special occasion cakes—it's not about perfection, it's about creating a memory that tastes as good as it looks.
When to Bake This Cake
Easter is the obvious choice, but this bunny cake has become my secret weapon for spring celebrations of all kinds. I've made it for birthday parties in April, baby showers with pastel themes, and even a whimsical bridal shower where the bride wanted something fun instead of formal. The cake feels seasonal without being limited to one holiday, and it works just as well in May as it does in March.
Making It Your Own
The beauty of this cake is how much room it leaves for personalization without requiring baking expertise. I've done a chocolate version by replacing half the flour with cocoa powder, which deepens the flavor and creates beautiful layers when you reveal those sprinkles. Some friends have used different candies inside—mini chocolate chips, crushed candy canes for a winter version, or even edible glitter for something more magical. The frosting can be any color you want; I've done lavender, pale yellow, even a minty green for spring.
Assembly Tips and Tricks
Assembly is where most people worry, but it's actually the most forgiving part of the process. The bunny shape doesn't need to be anatomically correct—it just needs to feel cheerful and unmistakably rabbit-like. I've learned to assemble on a large board or cake board because it makes moving the cake to a serving table easier, and it gives you room to arrange the ears and bowtie at angles that look natural and playful.
- Use a serrated knife dipped in hot water to cut the cake cleanly into ear and bowtie shapes, wiping between cuts for smooth edges.
- If frosting starts to crack or look uneven, dip your offset spatula in warm water and smooth gently—this saves the day without requiring a frosting do-over.
- Assemble the bunny at room temperature first to see how it looks, then chill before final decorations so the frosting holds the candy and coconut securely.
 Save
Save This cake has taught me that the best celebrations aren't about precision—they're about the joy of revealing something unexpected and delicious. Bake this for someone you care about, and watch their face when they discover what's hiding inside.
Recipe FAQs
- → How do you create the hidden sprinkle center?
After baking and cooling the cake layers, cut a circular hole in one layer, fill it with assorted sprinkles, and seal it with the removed cake piece before frosting.
- → What is the best way to achieve the bunny shape?
Cut one round cake as the face. From the second round, cut segments to form ears and a bowtie, then assemble on a large board before decorating.
- → Can I substitute ingredients for dietary needs?
Yes, ingredients like gluten-free flour or dairy alternatives can be used, but may alter texture and taste slightly.
- → How should the cake be stored after decorating?
Chill the cake for about 30 minutes to set the frosting, then store it covered in the refrigerator to maintain freshness.
- → Are there tips to enhance the decorative effects?
Using shredded coconut for fur texture and gel food coloring for vibrant pink accents enhances the bunny’s playful appearance.
- → What tools help with assembling this cake?
Use an offset spatula for smooth frosting, a 3-inch round cutter for precise holes, and a large board for assembling the pieces.