 Save
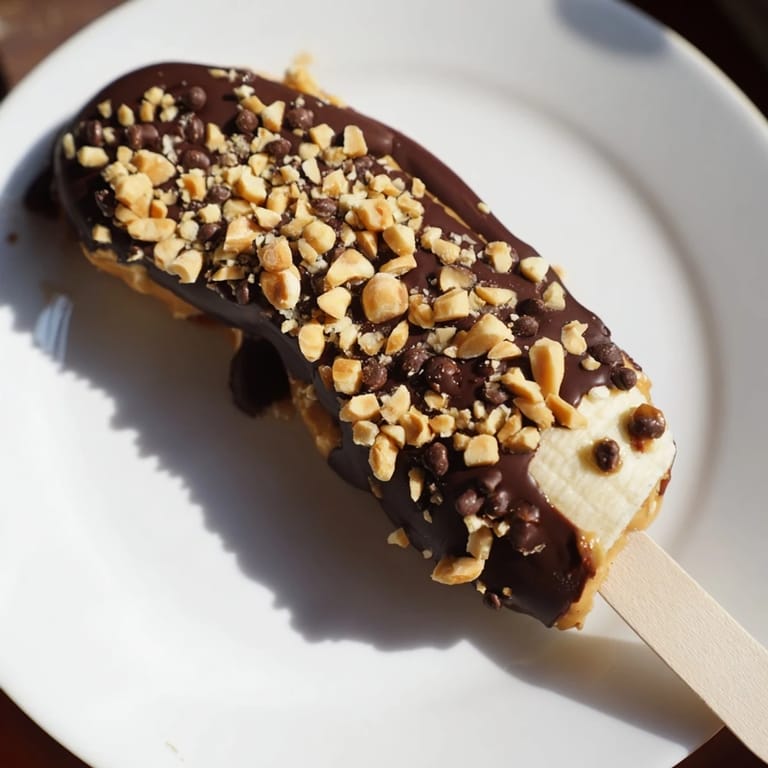
Save Last summer, my niece declared herself a professional ice cream critic at age seven. I knew store-bought bars wouldn't pass her test, so I grabbed bananas and peanut butter from the pantry and made these pops on a whim. She called them better than anything from a truck, and I've been making them ever since. They're simple, fun to customize, and they vanish faster than I can restock the freezer.
I made a triple batch for a backyard cookout in August, setting up a toppings bar with crushed peanuts, coconut flakes, and rainbow sprinkles. Guests lined up like it was a dessert assembly line, and by the time the grill cooled down, every pop was gone. One friend texted me the next day asking for the recipe, calling it the easiest party win she'd ever seen.
Ingredients
- Ripe bananas: Look for yellow peels with a few brown spots, they're naturally sweeter and freeze into a creamy texture that doesn't turn icy.
- Creamy peanut butter: The smooth kind spreads easily over cold fruit and adds a rich, salty contrast to the chocolate without any gritty bits.
- Dark or milk chocolate: Chopping bar chocolate instead of using chips gives you a glossy, even coating that snaps when you bite.
- Chopped roasted peanuts: A handful adds crunch and a toasted flavor that makes each pop feel like a candy bar.
- Shredded coconut: It sticks beautifully to wet chocolate and brings a tropical sweetness that pairs perfectly with banana.
- Mini chocolate chips: They nestle into the coating and give you little bursts of extra chocolate in every bite.
- Sprinkles: Pure fun, and they make the pops look bakery-bright, especially if kids are helping.
Tired of Takeout? 🥡
Get 10 meals you can make faster than delivery arrives. Seriously.
One email. No spam. Unsubscribe anytime.
Instructions
- Prep the bananas:
- Peel them, slice each one in half crosswise, and push a popsicle stick into the cut end so it's secure. Line them up on parchment and freeze for an hour until they're solid enough to handle without squishing.
- Spread the peanut butter:
- Pull the tray from the freezer and use a small spatula to smooth about a tablespoon of peanut butter over each frozen half. Pop them back in the freezer for fifteen minutes so the layer firms up and won't slide off when you dip.
- Melt the chocolate:
- Set a heatproof bowl over a pot of barely simmering water, or use the microwave in thirty-second bursts, stirring between each one. You want it glossy and pourable, not scorched or grainy.
- Dip and top:
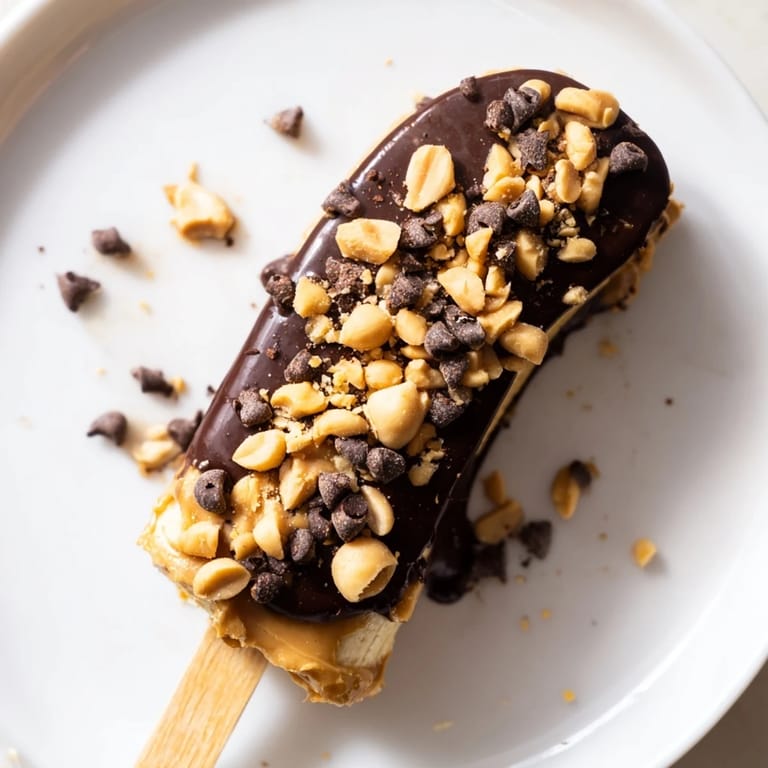
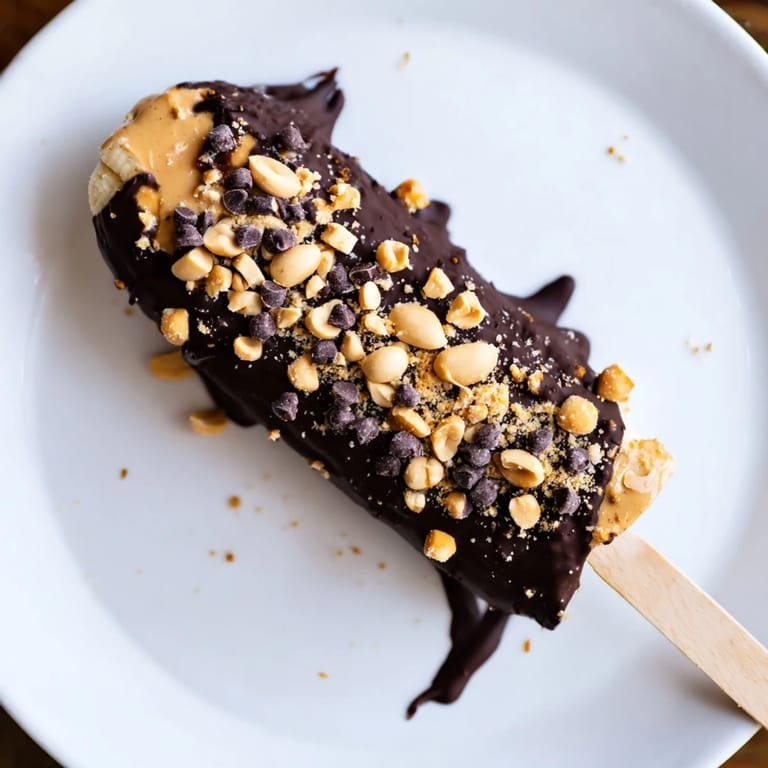
- Hold each banana by the stick, dip it into the melted chocolate, and twist gently to coat. Let the excess drip back into the bowl, then quickly scatter your toppings over the wet chocolate before it hardens.
- Final freeze:
- Arrange the finished pops on the parchment-lined tray and freeze for at least an hour. They'll set up firm and glossy, ready to grab straight from the freezer whenever you need a quick treat.
 Save
Save On a particularly hot afternoon, I pulled a tray of these from the freezer and sat on the porch with my neighbor. We didn't talk much, just bit through the chocolate shell and let the cold banana melt on our tongues. She told me it tasted like summer camp, and I realized that's exactly what a good frozen treat should do, take you somewhere simple and happy without trying too hard.
Choosing Your Chocolate
Dark chocolate brings a bittersweet edge that balances the natural sugar in the bananas, while milk chocolate makes the pops taste like a classic candy bar. I've tried both, and honestly, it comes down to who's eating them. Kids usually reach for milk, adults tend to prefer dark, and I keep both on hand so no one has to compromise.
Topping Combinations That Work
Crushed peanuts and a pinch of sea salt turn these into something that tastes expensive and intentional. Coconut with mini chips feels tropical and indulgent, like a vacation snack. Sprinkles alone are pure joy, especially if you're making these with little hands that love color more than complexity.
Storing and Serving
These pops live in the freezer, stacked in a container with parchment between the layers so they don't stick. They're best within a week, though mine never last that long. Pull them out and serve straight away, no thawing needed, the texture is perfect when they're rock-solid and the chocolate snaps clean with every bite.
- If you're taking them to a party, pack them in a cooler with ice packs and they'll stay frozen for hours.
- Let them sit out for two minutes if you want a slightly softer banana center, but I prefer the full frozen crunch.
- Wrap each pop individually in wax paper if you're making them ahead for lunchboxes or poolside snacks.
 Save
Save Every time I make these, I'm reminded that the best treats don't need a long ingredient list or fancy technique. Just good chocolate, ripe fruit, and a freezer that's ready to do the work while you do something else.
Recipe FAQs
- → Can I use other nut butters for the coating?
Yes, sunflower seed butter is a great alternative, especially for nut-free versions, providing a similar creamy texture and flavor.
- → What type of chocolate works best for coating?
Both dark and milk chocolate melt well for coating. White chocolate can be used for a sweeter variation.
- → How do I prevent the chocolate from cracking after freezing?
Tempering the chocolate properly and allowing the coated pops to freeze on a flat surface helps maintain a smooth, crack-free finish.
- → Can I add toppings before the chocolate sets?
Yes, sprinkle toppings like chopped peanuts or shredded coconut immediately after dipping to ensure they stick firmly.
- → How long can these frozen pops be stored?
Store them in an airtight container in the freezer and enjoy within one week for optimal freshness and texture.
- → Are these treats gluten-free?
Yes, as long as all ingredients and toppings are checked for gluten-free status, these pops are naturally gluten-free.