 Save
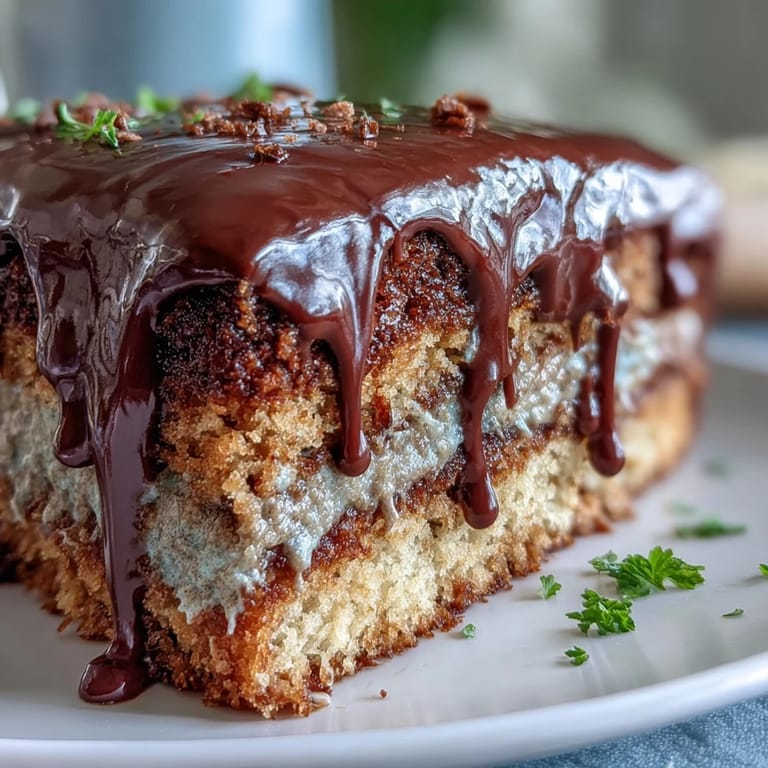
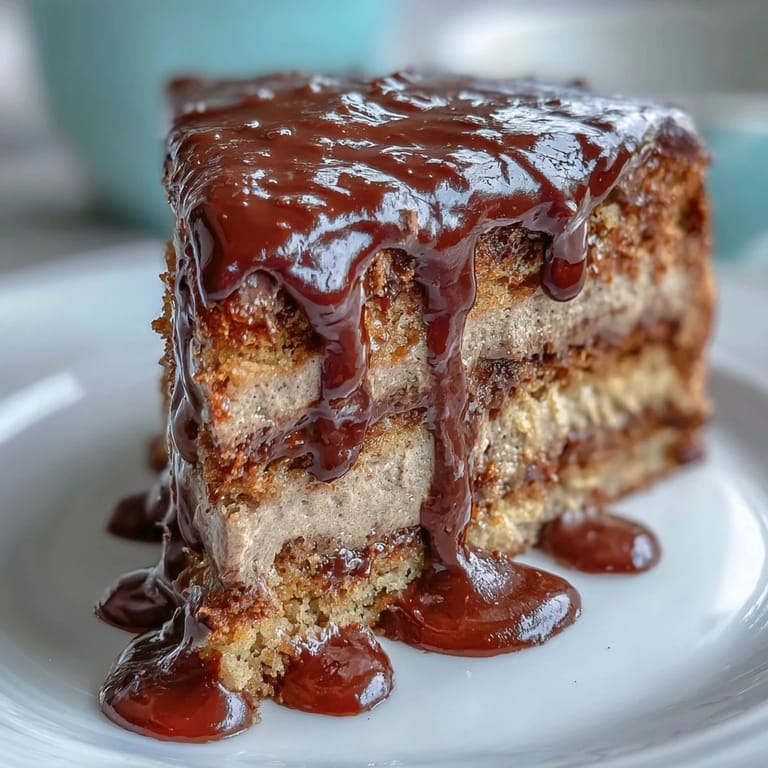
Save I discovered hojicha butter cream cake while sitting in a quiet teashop in Kyoto, watching the afternoon light filter through paper screens. The cake arrived with a whisper-thin layer of dark ganache catching the glow, and one bite transported me completely—earthy roasted tea notes dancing with buttery sweetness, all wrapped in the most delicate sponge. That night in my kitchen, I decided to recreate it, and after a few attempts and one gloriously collapsed layer, I finally understood the magic: it's about patience, precision, and letting each element shine.
I baked this cake for my neighbor's birthday last spring, and the moment she took that first slice, her eyes closed like she was listening to music. She'd spent three months in Okinawa and said it tasted like coming home. That's when I realized this wasn't just a pretty cake—it was a bridge between people and places, memories folded into layers.
Ingredients
- Cake flour: Use the good stuff—it's softer and lower in protein than all-purpose, which means your sponge stays tender and delicate instead of turning into a brick.
- Eggs at room temperature: Cold eggs won't incorporate air properly, and aeration is basically your entire sponge cake's personality.
- Hojicha loose leaf tea or bags: The roasted aroma is what makes this cake unmistakably special—don't skip this for regular green tea or you'll lose half the magic.
- Unsalted butter: Both in the batter and the frosting—you're controlling the salt level, which matters when hojicha can taste savory.
- Dark chocolate 60–70% cocoa: This range gives you richness without bitterness that fights with the hojicha's toasted notes.
- Heavy cream: Full fat only—it emulsifies properly with chocolate and creates that glossy, pour-able ganache.
Tired of Takeout? 🥡
Get 10 meals you can make faster than delivery arrives. Seriously.
One email. No spam. Unsubscribe anytime.
Instructions
- Set yourself up for success:
- Preheat your oven to 175°C and line two 18 cm pans with parchment paper, letting it climb slightly up the sides. Get your eggs and milk out now if they're not already at room temperature—this takes about 30 minutes and genuinely changes how the batter behaves.
- Build your cloud:
- In a large bowl, beat eggs and granulated sugar together on high speed for a full 5–7 minutes until the mixture is pale, thick, and leaves ribbons when you lift the beaters. This isn't a step to rush—you're incorporating air that's going to be your cake's entire structure.
- Fold gently, fold smart:
- Sift your cake flour and salt, then fold into the egg mixture in three additions using a rubber spatula and a gentle hand—think of folding a letter, not stirring soup. The batter should look light and fluffy, not dense or deflated.
- Temper before combining:
- Whisk together milk, melted butter, and vanilla extract. Take a few spoonfuls of your fluffy batter and stir it into this mixture to warm it up, then gently fold the entire thing back into the main batter so you don't lose all those hard-won air bubbles.
- Bake with patience:
- Divide batter evenly between pans and bake for 20–22 minutes until a skewer comes out clean—the cakes should be golden and springy but still tender. Cool in the pans for 10 minutes so they set slightly, then turn out onto a wire rack to cool completely.
- Steep your tea wisdom:
- Heat milk until just below boiling, add hojicha, and let it steep for 10 minutes—the longer you let it sit, the deeper and more complex the flavor becomes. Strain and cool completely, which you can speed up by pouring into a wide shallow bowl.
- Build the buttercream:
- Beat softened butter with powdered sugar and a pinch of salt for 3–4 minutes until it's light, fluffy, and almost white—this is where the magic happens. Gradually add your cooled hojicha milk, beating constantly, until you have silky, spreadable frosting that tastes like roasted tea captured in butter.
- Create your ganache:
- Heat heavy cream until it's steaming but not boiling—you'll see a few small bubbles around the edges. Pour it over chopped chocolate, let it sit untouched for 2 minutes, then stir gently until you have that gorgeous, glossy coating.
- Assemble like an artist:
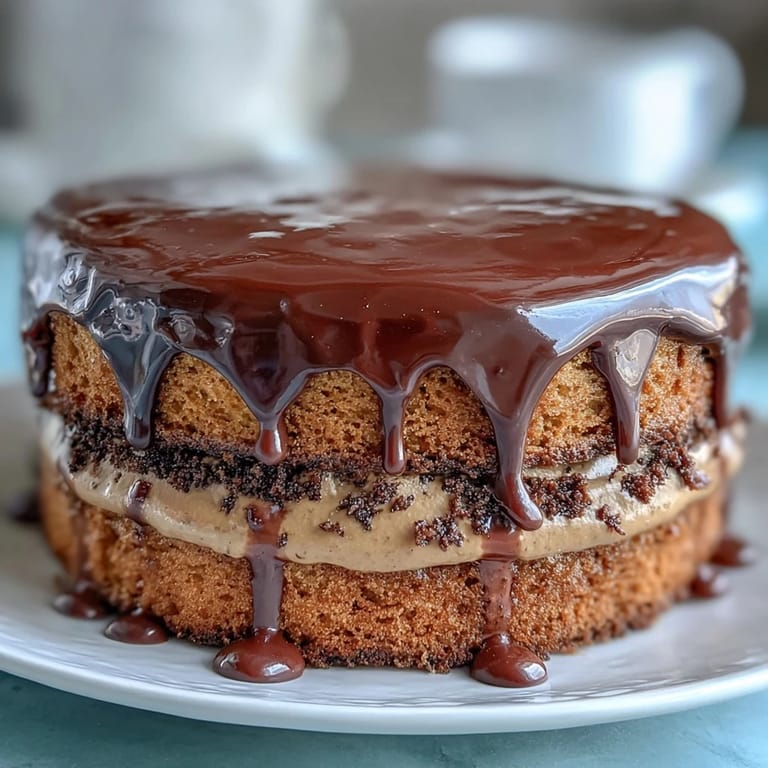
- Place one cooled cake layer on your serving plate, spread half the hojicha buttercream evenly over the top using an offset spatula. Set the second layer on top, then coat the entire cake with remaining buttercream, creating a smooth crumb coat or intentional rustic texture—your choice.
- Finish with drama:
- Pour cooled ganache over the top and let it drip down the sides naturally—resist the urge to smooth it perfectly. Chill for 30 minutes so everything sets before you slice into it.
 Save
Save What struck me most about this cake wasn't the technique or even how beautiful it turned out—it was how quiet the kitchen felt while I assembled it. No rushing, no shortcuts, just the soft clink of my spatula, the faint smell of roasted tea, and this sense of building something that mattered. That's what makes this cake different.
Why This Cake Matters
Hojicha isn't just another ingredient—it's tea that's been roasted until it becomes something almost entirely different, smoky and warm and utterly comforting. When you layer that flavor into buttercream, you're not making a decorated cake, you're creating an experience. The dark ganache isn't there just for looks; it anchors all that roasted delicacy with a hit of chocolate that says, "Yes, this is special."
Timing and Temperature Reality
The two-hour timeline includes active work plus chilling and cooling, but here's what I've learned: you can make the cakes a day ahead and assemble fresh the morning of serving. The buttercream actually improves after sitting overnight—the flavors deepen. The only part you truly need to do close to serving is the ganache, which should be at room temperature when you pour it.
Flavor Pairings and Serving Moments
This cake tastes like it was designed to be eaten slowly, preferably with someone across from you, with a small cup of something warm nearby. Japanese green tea, oolong, or even a light black tea like darjeeling would be perfect—you're echoing the hojicha's roasted notes without competing with them. I've also served it after a light dinner, and there's something about the earthiness of the cake that settles beautifully instead of feeling heavy.
- Slice with a hot knife rinsed between cuts so the ganache doesn't crack or drag.
- Let slices sit at room temperature for five minutes before serving so the buttercream softens and releases all its flavor.
- Keep leftovers covered in the refrigerator for up to three days, though honestly they rarely last that long.
 Save
Save This cake has taught me that baking isn't about perfection—it's about presence, about showing up for the work and trusting the process. Make this once, and you'll find yourself reaching for it again.
Recipe FAQs
- → What makes hojicha unique in baking?
Hojicha is roasted Japanese green tea with a distinctively nutty, caramel-like flavor that's less astringent than other green teas. This makes it perfect for buttercream as it infuses beautifully without becoming bitter.
- → Can I make the sponge cake in advance?
Yes, the sponge layers can be baked up to 2 days ahead. Wrap them tightly in plastic wrap and store at room temperature. The assembled cake keeps well refrigerated for up to 3 days.
- → What tea alternatives work if I can't find hojicha?
You can substitute with roasted oolong or genmaicha for similar earthy notes. Matcha will work but will provide a grassier flavor profile. Adjust steeping time accordingly.
- → How do I know when the sponge is properly baked?
Insert a skewer or toothpick into the center—if it comes out clean or with just a few moist crumbs, it's done. The cakes should also spring back lightly when touched.
- → Why is my buttercream curdling when adding the tea milk?
This usually happens if the infused milk is too warm or added too quickly. Ensure the milk is completely cooled and add it gradually while beating constantly. If it curdles, keep beating—it often comes back together.
- → Can I freeze the finished cake?
Yes, freeze the fully assembled cake (without garnishes) for up to 1 month. Thaw overnight in the refrigerator before serving. The texture remains remarkably well after freezing.